
- Get link
- Other Apps
In part one of the Basquiat monoprint lesson, I wrote a lot of about art discussion and planning out the lesson, well this post is all about action! Students have just completed a grid of symbols for a variety of categories in class one and now we’re ready to move forward in class two with the monoprint.
Students choose three symbols from their grid that they like the most, for whatever reason. They are told to circle them and then draw them again on a scrap/planning paper, working on a more detailed version as well as varying the size and considering placement on the “page”. I encouraged students to make one symbol larger than the others.

Next, a demonstration of the monoprinting technique helps students understand what the next part of the process looks like. These students had never done monoprinting before so it was new and exciting. It also helped that I had pretty big plates to work on (though I’d love to try like a 18x24) and would let them ink the plates themselves.

We used plastic from cheapy- poster frames as the printing plates and water based printing ink. Students drew into the inked plate with q-tips using their drawings as a guide. Some student-artists did make last minute creative changes, which were just fine! Part of the process, right? I let about a third of the class print at a time, then the next group. In terms of group management, it went pretty smoothly. Students who are done write a quick exit slip about the meaning of their three symbols.

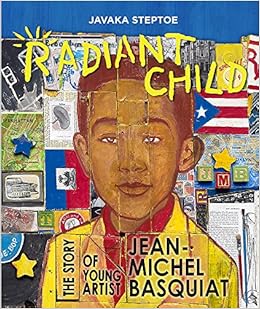
The following class, was started with a read aloud. I read each class, Radiant Child by Javaka Steptoe, which is the story of Jean-Michel Basquiat’s childhood and young adult life. It’s meant for young people so it’s not too laden with heavy facts. https://www.amazon.com/Radiant-Child-Jean-Michel-Childrens-Literature/dp/0316213888
After the read aloud, we quickly re-visit the same three paintings we’ve been discussing to talk specifically about color and expressive line. In this last class, students will use oil pastel to hand color their mono prints. I want students to use expressive line in this portion of the art making, but students still have the choice of how “messy” to make it.
I showed another Basquiat artwork here as an example, Bird on Money.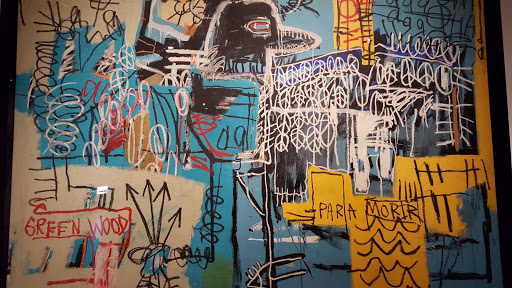

Students first added in their text. Remember those three words to describe themselves? Well they were incorporated in black sharpie.
Students were asked to consider how they could write the words to give them special meaning. For example,
- Making one word larger or really tiny
- Repeating a word
- Crossing out a word
- Using block or bubble letters/underlining/give the word color
- Write a word with letters changing size (getting bigger or smaller)
- Writing a word in a shape (going around in a circle for example)

When it came to color, I found these students didn’t have a lot of experience with mark-making outside of coloring in a shape, so I really had to explain and show the difference between scribbling and making a purposeful mark. Wow! I found that to be a hard moment as a teacher. I was really trying to give them the space to make their own art, but give guidance on using color and line. Overlapping was again encouraged and even drawing in more symbols from the grid if students found they had the space.
There were of course, student who just “got it” right away and others who struggled with the open-ended nature of this having less experience in working this way. But I know it was a great creative process experience for all my students. They were engaged in discussion, their own bank of symbols and did really enjoy the intensity of color the oil pastels brought to the monoprints.


As students finished their work, they talked with me about their color and line choices and finished off their art by gluing their symbol grid sheet along with a lesson information slip to the back of their art. That way when they bring their art home, their families can see and read a little bit about our lesson and students can remember some of the main points. I always hope that this sparks a conversation at home with at least a few of the students and parents.
Tackling this artist’s work with my students was challenging for me, but so rewarding! Given that I was doing it within the context of being with a group of students who were new to me made it a little more challenging. Not knowing what kind of experiences they had as younger students kept me on my toes! But the students ability to see the artists work and really connect with his art and life made every challenge worthwhile.
Thanks for reading!
