
- Get link
- X
- Other Apps

Happy New Year everyone! The beginning of January has already passed us by and yet, I feel like I’m just getting back into the swing of things. The kids started back on Monday and we’re back into routine and productivity? I’ve always felt that I make the most progress from January to March in my school year. There are fewer school holidays and so the momentum really works for me!
I wanted to share this post I’ve written about ink painting in the art room.

When considering new materials for students, don’t let the idea of a “mess” get in your way. Painting with india ink is such a great experience to give your students and with the right preparation, it can be a wonderful journey of discovery for the students.
Ink painting is an extremely old art form with examples dating back into ancient Greece (c.300 CE) and therefore rife with art historical material to discuss with your students. As they apply the ink, they’ll find their artworks imbued with a rich quality of blacks and grays. As a monochromatic medium, it could lead to an interesting class discussion and comparison of other monochromatic materials, such as graphite artworks.
There are many resources for subject matter out there on ink painting. Of course it is the basis for much of the traditional art of China, Korea and Japan. Beyond that, I want to share some practical tips for using the material with your students.
Teaching proper procedure in using the ink is important, just like any other art making material.
Yes, it stains clothes; require every student to wear a smock. Everyone must move calmly. This is a great opportunity for a mini mindfulness exercise. Students can practice moving their hands and arms calmly before a tool is even in their hand. The worst I’ve ever had is students with stained skin on their hands and there’s even a tip for managing that!

Top Tips for Ink Painting
-
Use place mats
My painting procedures often include a placemat (like an old open file folder or even just pieces of oak tag reused over and over again). Students will place their paper on the mat and when it’s time for art to go in the drying rack, they pick up the whole mat to go to the drying rack. It gives the paper a lot more stability while they are carrying it.
-
Put all the painting materials on a tray to catch spills, plastic is best for a quick rinse, but even a box lid will do.
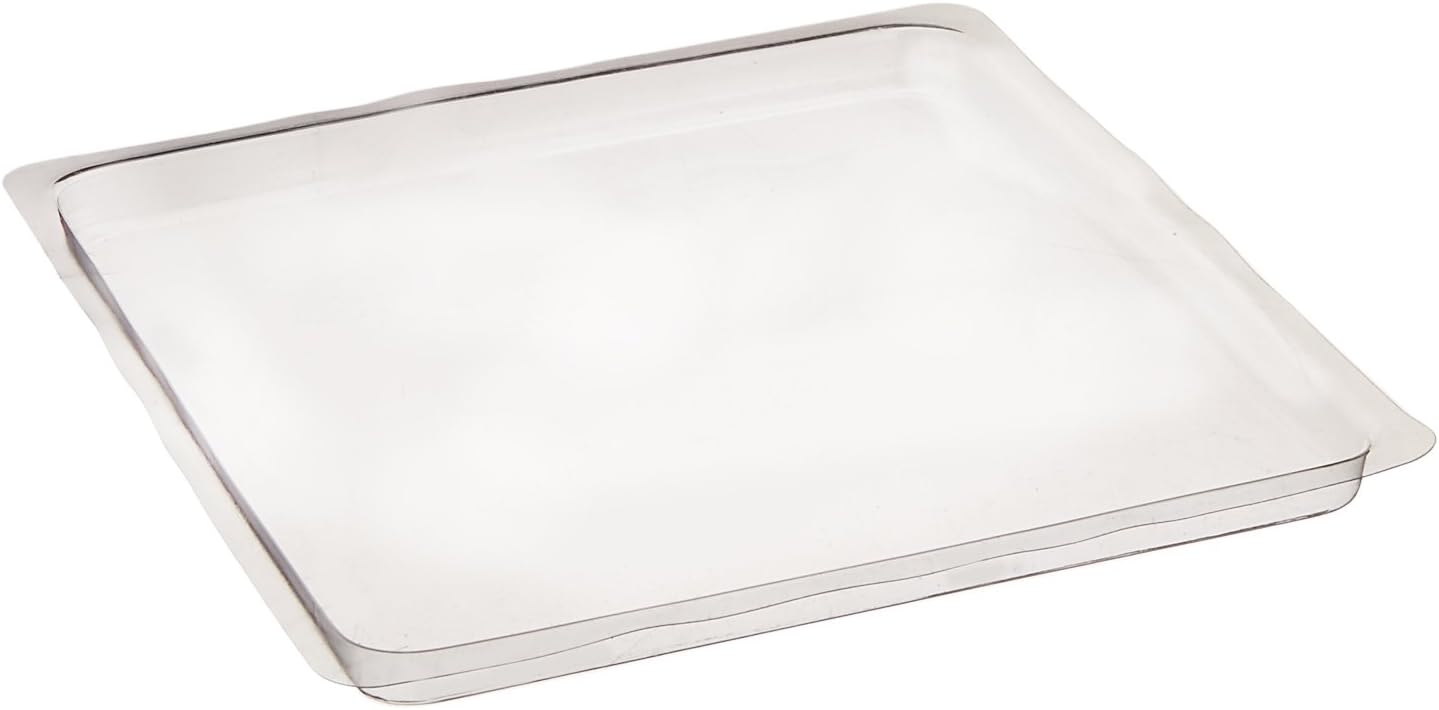
use a plastic try to minimize spillage (this one is a School Smart mixing tray)
But make sure everyone at the table can comfortably reach. If not, spills are even more likely to happen.Consider hot gluing a plastic cup (like a ramekin cup or reuse a yogurt cup to a plastic lid to decrease spills further.
-
Along with plain water, provide a black cup and gray cup(ink already watered down) for students.
I still let kids mix their own shades on their papers, but it’s good to at least provide a mid tone to help beginners achieve different values.
-
Have a wet rag at the table for students to wipe their hands if they spill any ink on their skin. If it is washed away before it soaks in much, there’s way less of a stain.
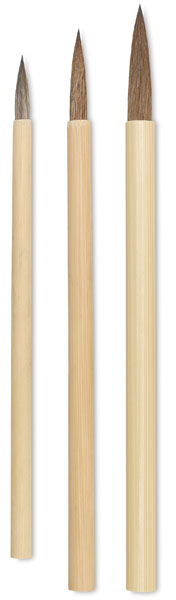
I want to note that if you don’t have sumi-e brushes, there’s nothing wrong with using the brushes you have. The marks will be different, but the ink quality the same. Bamboo reed pens are also a neat tool, but if you don’t have them, go rustic! Try sticks from outside.
Paper
Practice on newsprint with final product on watercolor or rice paper.
Gather your students to do a thorough demo introducing tools and procedure for using the ink. Emphasize that a wet brush will quickly absorb the ink so students need only touch the tip of the brush to the ink. Placing the brush tip into the ink should be a gentle technique.
First Ink Painting Experience
In the first session of india ink painting, paint on “practice paper” only. Newsprint works well and is budget friendly. Even plain old newspaper would be fine for practice.It’s enriching for students to try the traditional method of holding and moving the sumi-e brush, even if they don’t stick with that method throughout painting. Demonstrate all the parts and ways the brush can be used to make different marks.
The brush is a traditional tool with history to be explored and honored. Draw students into the demonstration by asking them what they think the handle or bristles are made from?
When students are back to their own papers, give instructions to try a fat line, thin line, the longest line they can make, use the side of the brush, use the bamboo reed pen, try a wash by putting water down first.
Be calm, be patient, encourage students to do the same. This is practice not perfection. A new tool comes with challenges. That’s okay, I say, we are learning. We are growing. Point out your growth mindset display if you have one! This is it.
When simple line formation practice is through, allow students time to experiment with the tools to make more representational works. There are so many resources on Asian ink painting subject matter. You could provide handouts with inspiration. I like to use traditional Chinese imagery- cranes, trees, rock formations and song birds as well as pandas and bamboo.

Students work from packets with traditional imagery as inspiration
Final artwork
Watercolor paper or rice paper, if you like, is a better quality materials for a final artwork. Newsprint will get all wrinkly, while a heavier weight paper can absorb more water. I like to use watercolor paper with my elementary students. When students are done, don’t let them get up with their artwork.
Although it may be the usual procedure to have students stand and bring their artworks to the drying rack, india ink artworks do best with a bit of time to soak into the paper, especially if using watercolor paper or even really a drawing paper. Giving five minutes make a lot of difference in eliminating the problem of runny drips on a beautiful painting.
Clean up
Again, let those artworks sit a few minutes before they are transported to a drying rack.
For the students who need to wash up, soap and water will do pretty well for skin. Silicone sponges for cleaning fingernails and gently scrubbing skin will help even further.
By placing all the materials in trays, you also save yourself transition time. Sweep trays away to a countertop or stack up off to the side. If you stack the trays, avoid stacking the trays so the cups touch the tray above it. Often as they dry, they stick. Placemats should have caught a lot. A damp rag will take up the rest.

There is beautiful work to be made with india ink and students can really benefit from exposure to an ancient art form that requires such patience and calmness. Using a new material gets students excited for the lesson. When it’s new and challenging, you’ll find your classes more engaged. Nothing makes an art teacher happier than that!
Thanks for reading! I hope you'll leave a comment or two about how you use ink painting in your curriculum!