
- Get link
- X
- Other Apps

Second graders are having a great time working on their Picasso inspired Blue Period Abstract guitars. I find it’s an excellent experience to really apply an artistic choice of realism vs. abstraction.
As our school has been discussing ‘growth mindset’ lately, as I taught the lesson I addressed Picasso’s dedication to an idea. Students love to hear that as an artist, he was not afraid to be different! Picasso was willing to try something that everyone might laugh at when they first saw it or even that he would make art that others would hate at first.
Picasso perfectly embodies growth mindset in terms of dedication, persistance and exploration as well as important studio habits of mind- ‘Stretch and explore’ and 'engage and persist'.. (Want to know more about using studio habits of mind? Check out this Art of Ed post )
Students themselves employ stretch and explore as they respond to Picasso’s art through the creation of a paper collaged guitar.
I begin by sharing a google slides presentation of Picasso’s guitar themed art Here is a link the slideshow I use if you would like to use it too! I started with someone else’s presentation from slideshare and then modified it for my needs. Click here to view it!
Students begin by cutting two guitar halves. I have tried this a few different ways, but this year students cut one white side and one blue side. We put the blue side in the table folders and worked only with the white side on day one.

We mix tints and shades of blue on small pieces of foil (my perferred palettes) to apply line designs to our guitar halves. This is a quick thing, so the students accomplish what they can in ten to fifteen minutes.
Supplies for next class:- one 6”x9” paper per student
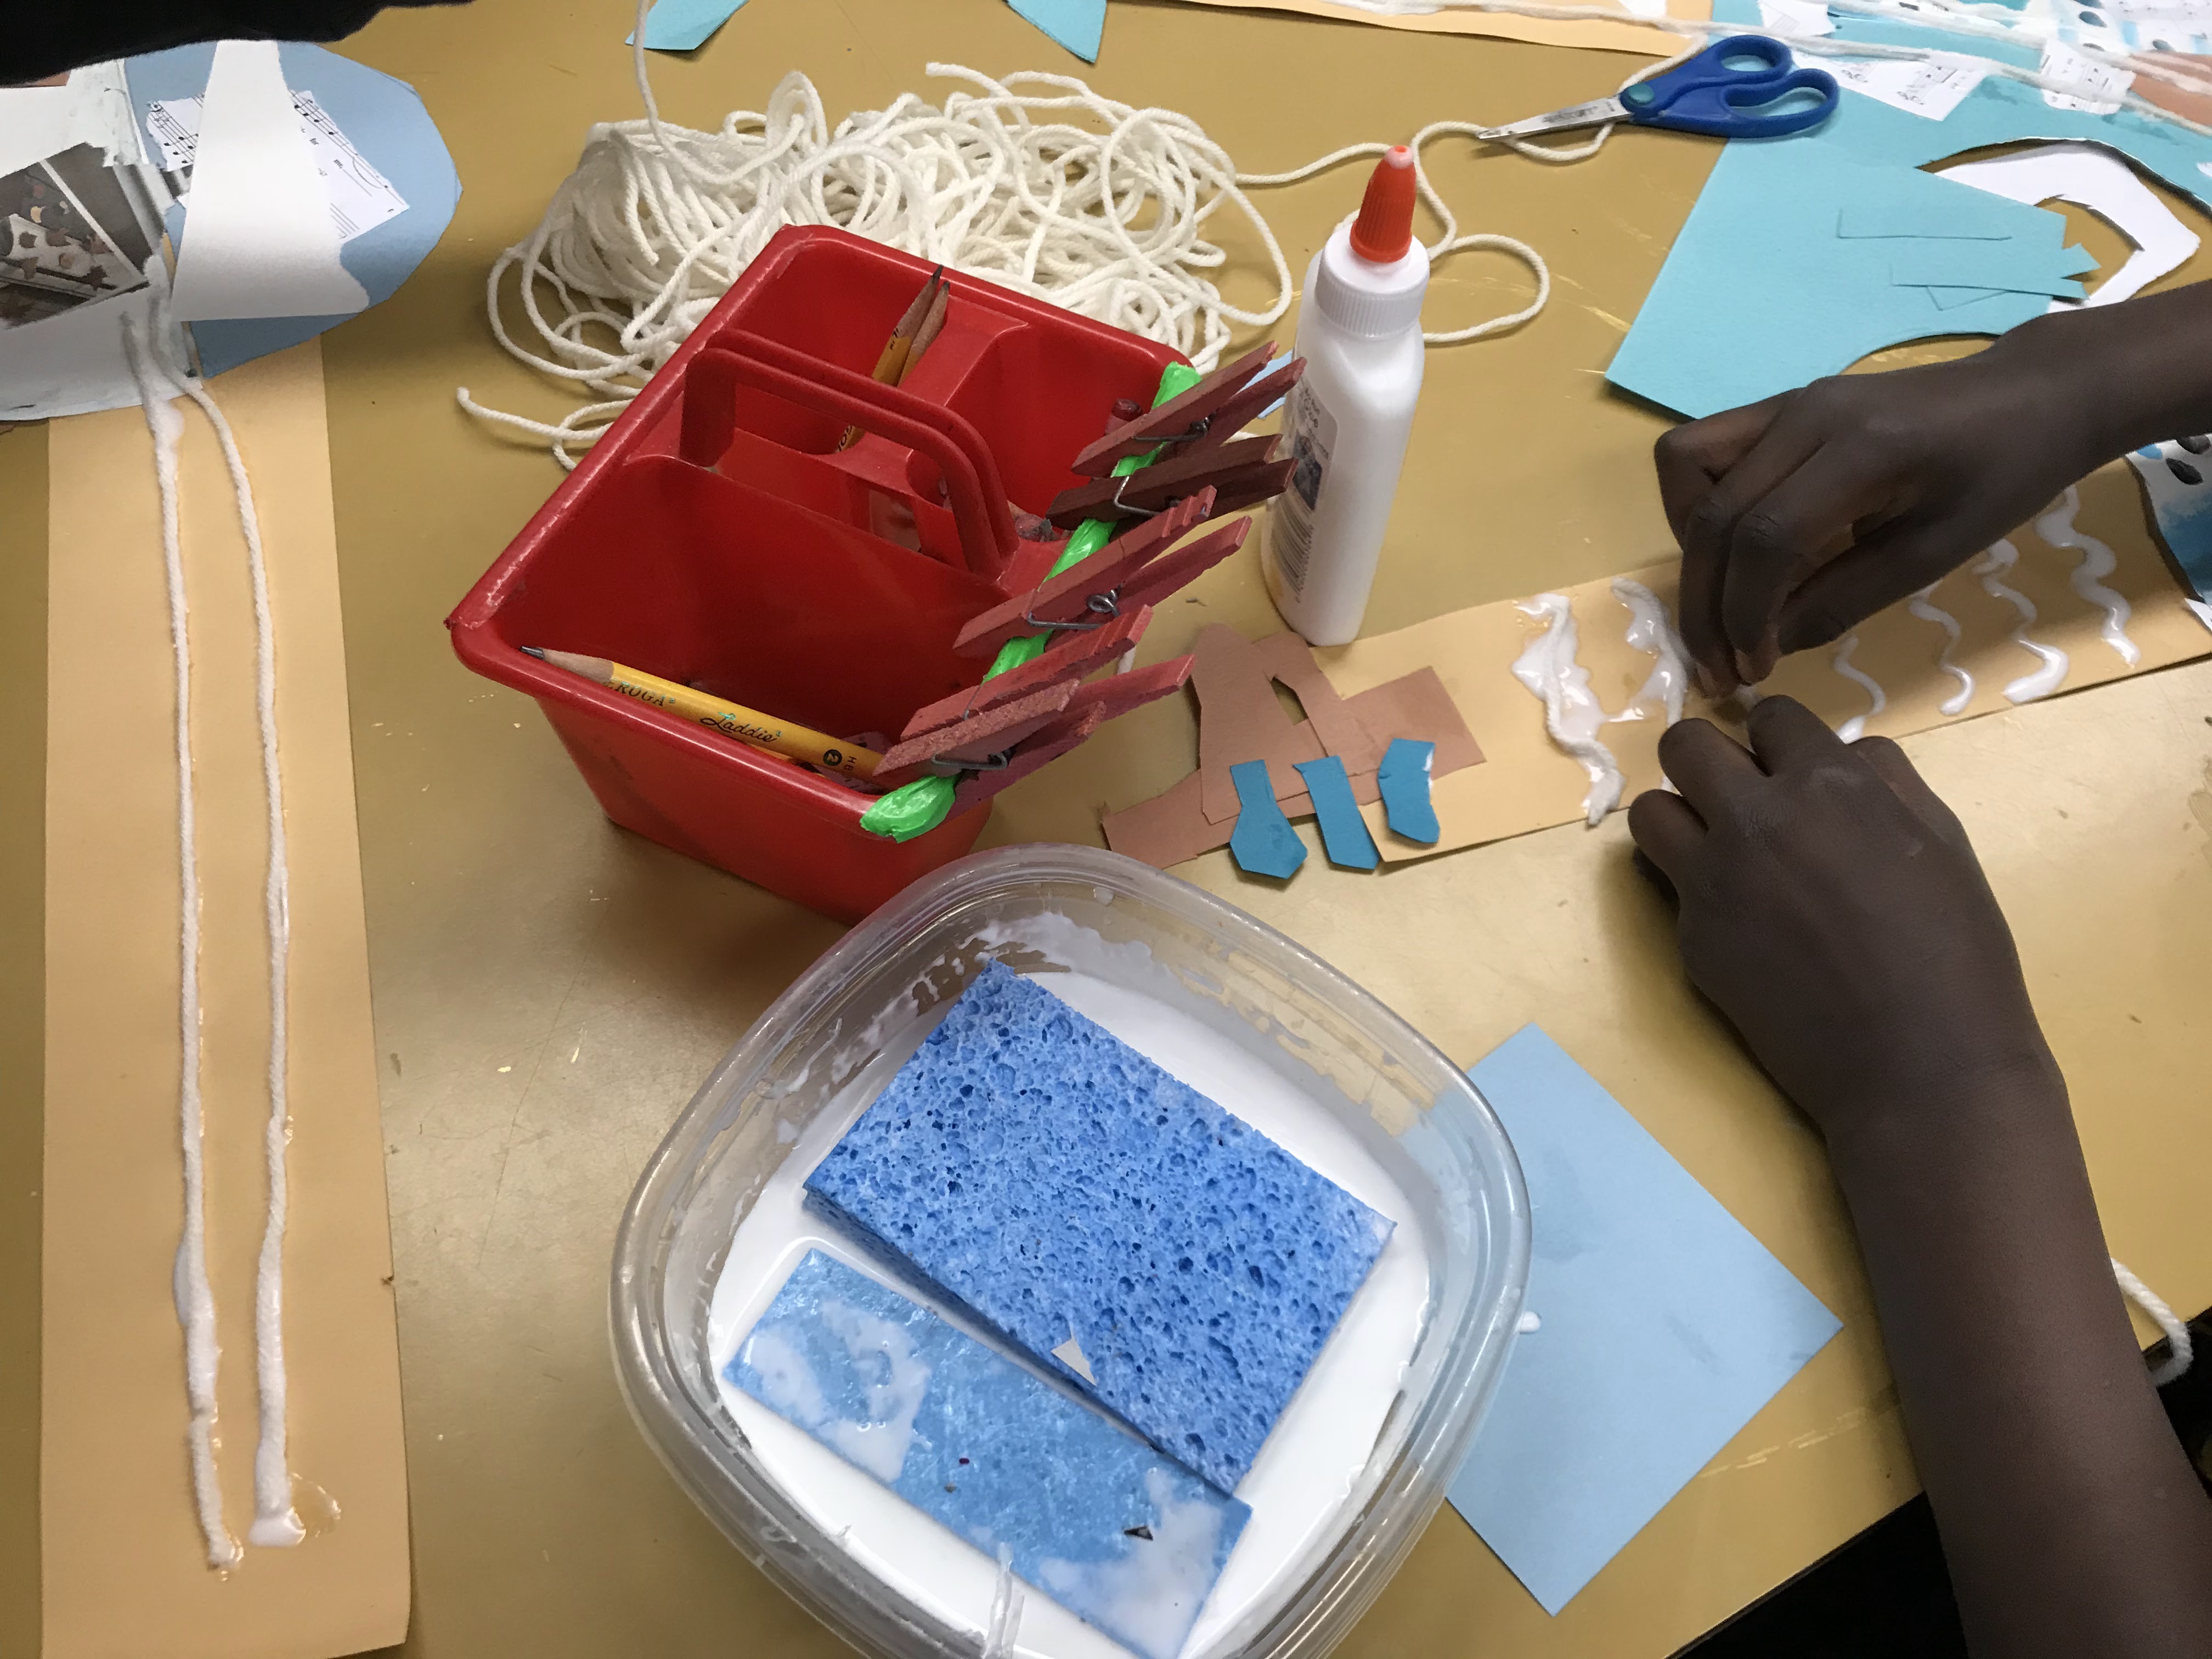
- Tray of paper for collage- I use all the scraps from cutting the guitar halves last week, plus another variety of blue, sheet music, newspaper and some brown shades
- Glue sponges (I love these things, if you’ve never tried them, google this!)
- Scissors
- pencils/erasers
- “Parts of a guitar” drawn poster
Next class, we take out both guitar halves and discuss how they might be attached. The idea of abstraction is reviewed and students are encouraged to make their own choices about how realistic or abstract to make their guitar overall.
Students press the 6x9” paper to the glue sponge and then attach their two guitar halves to that. If any paper is showing on the sides, they trim it off.
Next they glue a long 3”x14” paper strip for the neck of the guitar. If you have the resources, you could provide a lot of choice in the paper selection here too. Students also use the glue sponge to glue the guitar neck. We discuss how it can be arranged in any manner, including folding the guitar neck.
Students refer to the ‘parts of a guitar’ reference poster for the other items they need to create with the understanding that each piece has the option of being abstracted.
Trays of newspaper, sheet music photocopies, shades of blue (scraps and more) along with some browns are provided as collage materials. A headstock, tuning pegs, a sound hole and a bridge are all created using the varieties of paper provided. I also encourage some shapes on the guitar body or neck that are not more ‘decorative.
The paper varieties are meant to be another connection to Picasso’s cubist collage work.
On the final day of work, students will review objectives and glue an information/exit slip to the back of their art. This includes some talking points for them to use when they take their art home and explain to their families what we did. It also gives a tiny bit of background for parents. On my information slip, I end it with a prompt for families:
Ask your child to point out the parts of their acoustic guitar!
The last touch is to glue yarn for guitar strings.
I like to close the lesson by gathering students together to read, Just Behave Pablo Picasso, by Jonah Winter. Amazon link here. And I close the story with one more reminder to be true to yourself, take risks and be persistent!

Modifications for special needs students:
not many! What's wonderful about a project like this is that students are able to approach the subject matter at their own level with great success. As always, I recommend giving just a couple directions at a time and providing visual, written and demonstrated directions for your students.
Thanks for reading!

Emily