
- Get link
- X
- Other Apps


It seems like everyone is super busy setting up rooms, opening new art rooms or maybe already into the school year like me). Whatever position you're in, I hope you have a stellar year! Use the connection to other art teachers for good. Celebrate successes, but remember there is no comparison game. The social media share is intense when school starts up. Everyone does what's right for them!
I wanted to do a quick share to show you some things I'm putting in place this year. I am at a new school (new to me) this year. So I am facing all the challenges of getting to know a new room, students and staff. There are some tips and plans I want to show you that I hope can be useful to you too!

The Room Set Up
Okay so the joke is, why does it always take a whole team of people to move the furniture and wax the floors, but then it's handed over to "just you" to re-set all the furniture! Well I have a beautiful big room, largest I've ever worked in. I tried a few different table arrangements but have settled on a simple grid format for now!
Think about traffic flow when you set up.
-
Where will students enter? How easily can they move to their tables?
-
Where will you start most classes? (rug, student tables, demo table)
-
Access to the sink is important! If students will use it, do they have enough room to form a line?
-
When students are in line to use the sink or exit the room, think about what will be available to them to touch while they are waiting. (we all know they do not keep their hands down!)
-
Where and how will students access the drying rack(s)? Be sure the traffic here does not conflict with the sink for example.
-
Will you have a designated area for students who were previously absent and need to catch up on a process piece?
-
Will you have an area to relocate and redirect a student who is having trouble at the group table?


Mark the Line

I like to use tape or vinyl dots on the floor as visual cues for where to stand in line. AND where to stop so I can exit the room in front of the student line or get a student out to talk with their teacher, etc.
I used vinyl dots this year from my Cricut machine, but I've used colored masking tape in the past. I hear that "floor tape" from your PE teacher is a great resource as well.
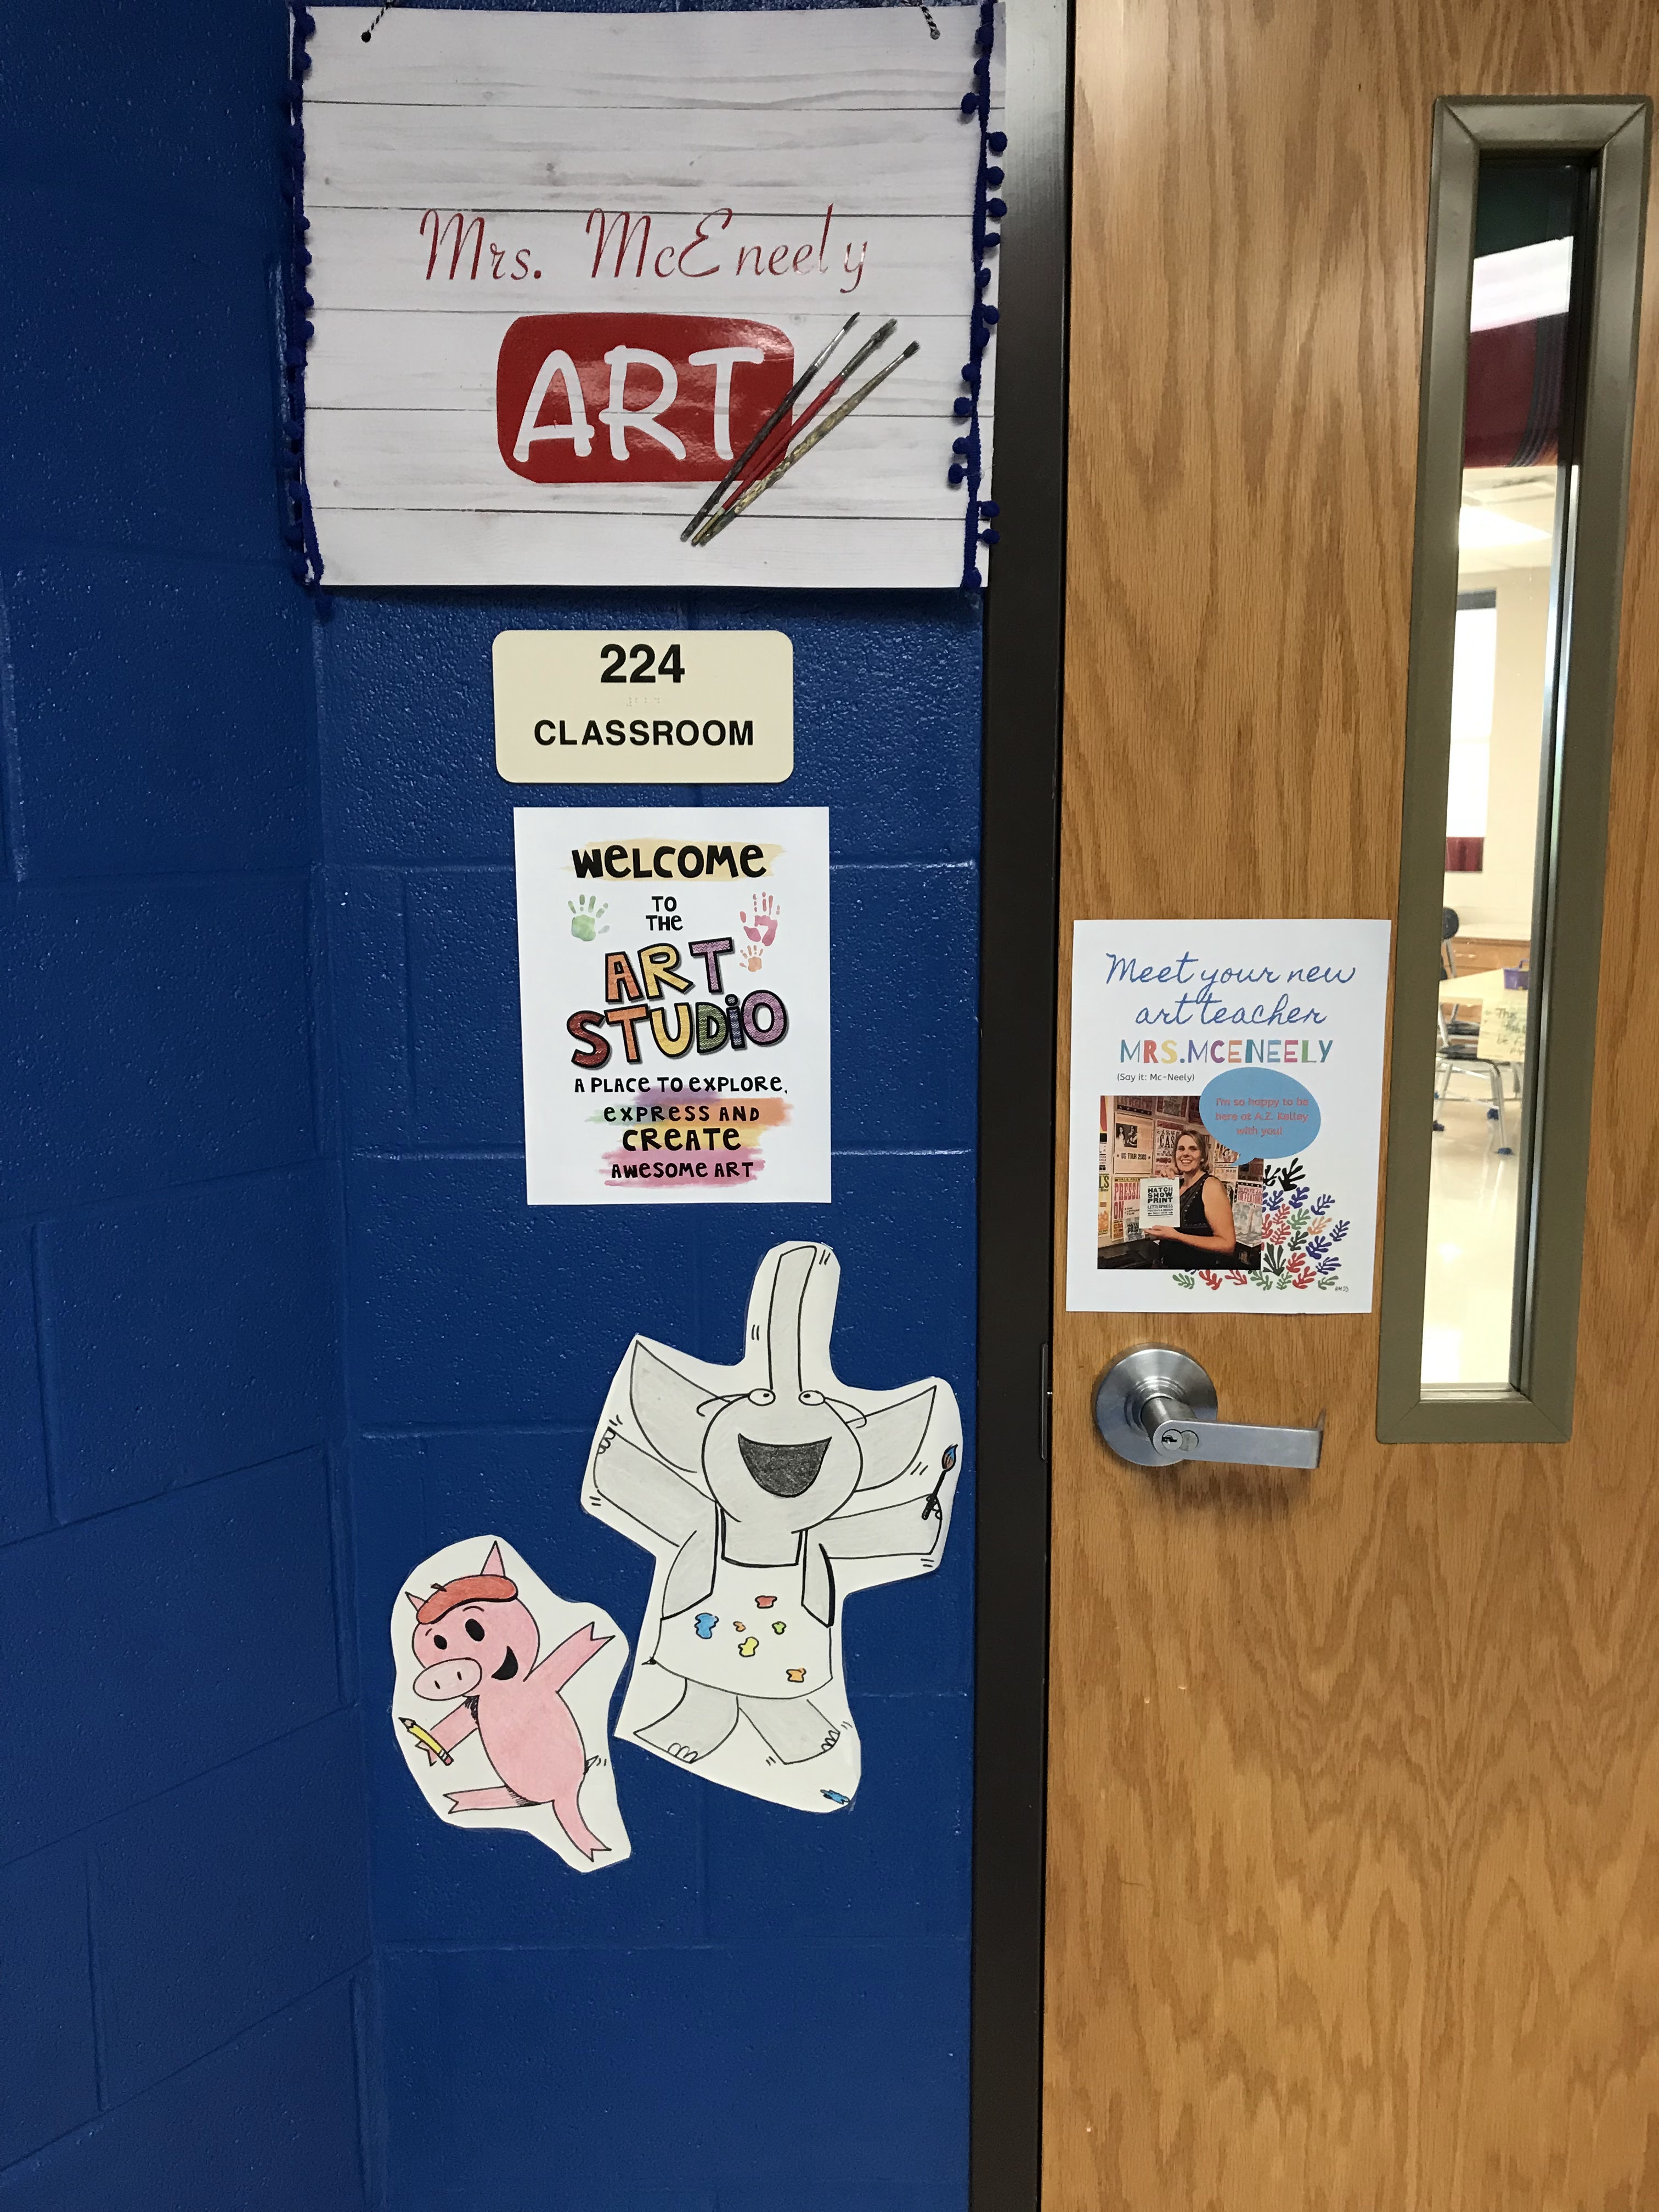
The hands up above my sink are showing students that this is the hand washing sink. I have a second sink that's like a slop sink style for washing supplies.

Waiting is Not Easy!
This is one of my favorite Elephant and Piggy books. It is also very true of small people! @2artchambers has a brilliant idea (you can see it on Pinterest) for creating an Eye Spy board by her line up area. She hot glues lots o' stuff up there and the kids can play. I played off this idea for my own Eye Spy board and mounted it on cardboard which I velcro ed and hot glued to the cinder block wall. I also want to mention that it's up too high for any kids to pick items off!

Great idea and it has already been useful this week when we have that spare two minutes. I want students to get good enough at it that they can play while I'm setting up for the next class. I ask the spyer to use 2 descriptive words when they give their clue. They get to call on three different people and if no one guesses correctly, they reveal their item.
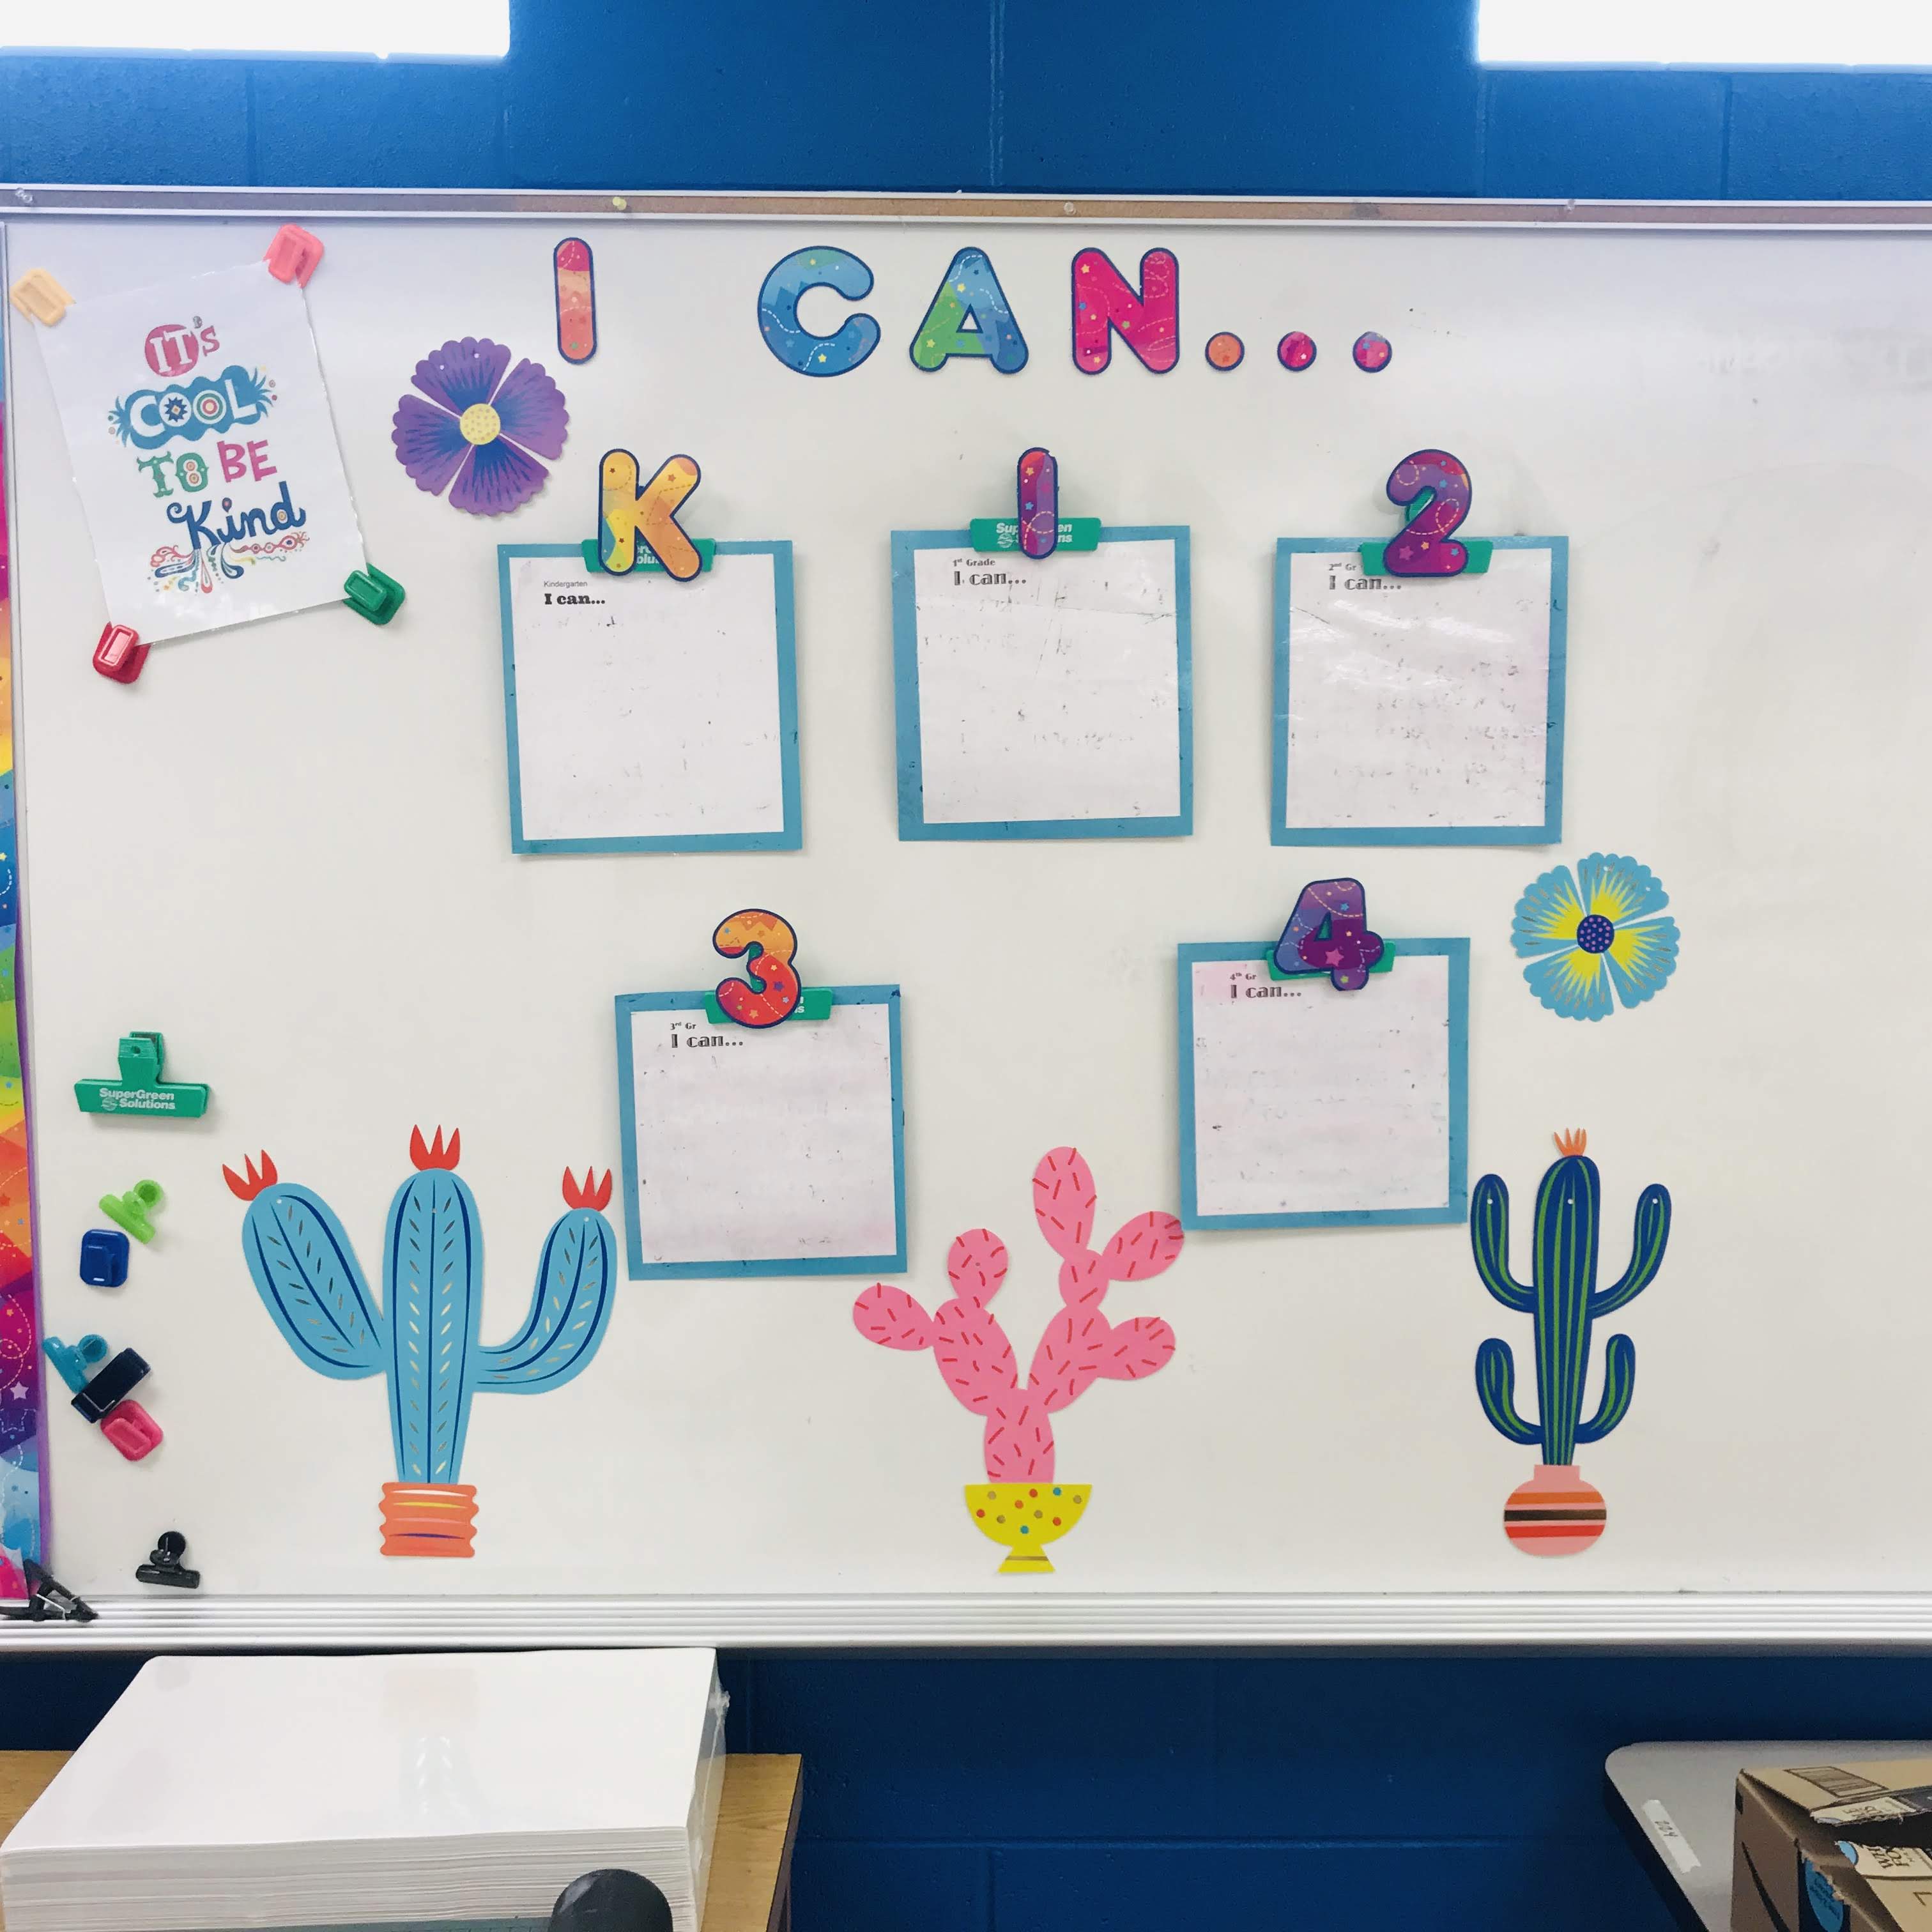
I Can...
Below you'll see a very long white board I have in the room. I'm using one side of it for displaying my "I Can" Statements, which share lesson objectives. I use laminated pieces of paper and write in expo marker on them for each lesson. I have them hanging here with magnetic chip clips I picked for free as a promo item!

- Need
- Do
- Put
- Then
These come from Envoy Classroom Management Strategies. I learned about this from Nic Hahn of www.MiniMatisse.com, and am just dipping my toes into it, but I love the ease with which it communicates the tasks needed.
Visual Cue Cards
With lots of ELL students and young children who may or may not read yet, like to use visual cue cards to accompany written directions. you can see them above on my whiteboard. BUT I think I've already decided, the cue cards I've used in the past are not large enough to be seen across the classroom. So I'll be making bigger ones soon.

I keep a box lid with supplies for each grade level on a table just below my white board
The Drying Rack
The drying rack is a tricky place. It's kind of a nightmare. Kids are not good at feeding their paper into the slots and yet, they need to practice it to get better! I'm using pictures of me to model how to carry the paper and put the paper in the bottom slot with all my students. I will certainly be using this is as a constant slide to share with students as we wrap up our wet work.
I am soon going to dress up the area a little as a pizzeria. This idea came from @art_with_mia. I used the analogy the first week as first graders created painted paper and had to move around the room with wet papers. We first practiced carrying our hot pizzas nice and flat, with dry paper. I told the students that the drying rack was the pizza oven. I know it doesn't exactly make sense- they don't care! They all loved pretending to have a pizza.
Table Folders and Name Plates
I have just finished making all the folders for an eight day rotation and I won't lie, it's a terrible task. There is so much work front-loaded in setting up a classroom! But I swear to you it IS worth it.
Make a table folder for each class. Label them in case you find them lying around somewhere! If you've never heard of table folders, they are mini folders inside your large class folder that make it soooo easy to pass out work.


A side note here- I know I learned this from someone else. Maybe @cassiestephenz? Students will write their name on the back of their paper using a colored crayon to match their table color. This makes sorting work out of the drying rack so fast! boom, it goes right into the correct table folders for fast passing out next time.
I'm no longer doing table points, but the table folders look the same! One per table
It is important to me to call each student by their name. I hope to memorize many of my students (total of 850ish). I'm having the second-fourth grade students create these easy name plates using just ten minutes of class time. I do pre-fold the paper to save time and show students how they will fold the paper to make it stand as a tri-fold.
The students decorate a bit more with their markers, with whatever time they have left. These name plates will get flattened out and stored in the table folder to be used each class until I'm at a comfortable point with names.
That's a little bit of my set up. To close this out I want to share a few of my goals for this year.

As always, thanks for reading! I hope you have an awesome, awesome school year and please check back as we go on this journey together.